Stream Your Media — and Manage Files
Own your own media streaming service, supporting video, music, and photos.
The Problem
Streaming services, like Netflix, Hulu, and Spotify, have been gradually raising their prices and the services are splitting which shows are available on each of them. So you continue to pay more for shows that you have no control over which movies and shows are available on.
If you have movies, music, or any media that you want to be available to you for your entire life and even to your children's lives, you have to own that media yourself.
The Solution
Use CitadelHosts to:
- Stream all of your content through Jellyfin
- Use Sync-In to sync files from your computer or manage them in your browser
- Create a Storage Volume to connect a storage backend to the applications
In this guide we will walk you through setting all of this up on CitadelHosts, but the concept is possible to be done on any self hosted hardware as well.
Video Tutorial
Setup Steps
1. Create a Territory (e.g., media-territory)
First step is to provision a Territory to host your media server on. On CitadelHosts this is as easy as navigating to your dashboard at citadelhosts.com/dashboard.
You then can select the "Create Territory" button to bring up the Territory creation modal.
We will be creating a Watchtower for the purposes of this guide as that is probably the best place for most users to start. High resolution video encoding can be resource intensive, especially if you anticipate multiple streams (multiple users) on your Jellyfin instance. You may need to increase your resource allocation for the Territory providing your media serving if you find the Watchtower resources are not sufficient.
2. Add Jellyfin & Sync-In to Territory
Your newly provisioned Territory is ready to have applications installed on it. To do this, navigate to your dashboard and select "Add App". Select Jellyfin, then repeat this for Sync-In.
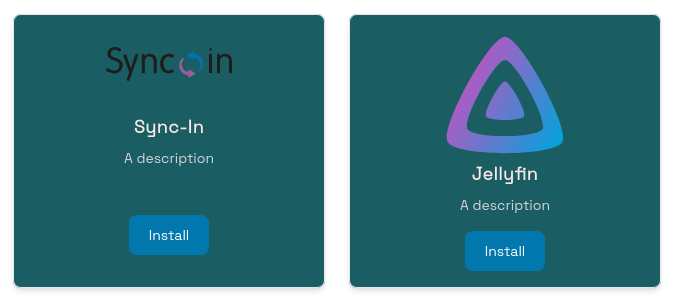
We will be installing Jellyfin. Jellyfin is an open-source media streaming application. They have a large community of supporters around the project. They even have applications supporting many different devices, like Roku, iOs, and Android. Jellyfin has great documentation and it might be worth reading their project documentation if you want to dive deeper into it. After you add Jellyfin to your Territory click on the link for the application in your dashboard to view the application's details page. From here you can press Start on Jellyfin and wait for the application to begin running.
After Jellyfin has started running you can click on your access link at the top of the Jellyfin details page to begin the setup process for Jellyfin. You will be presented with a welcome page and you can step through the quick start guide. But generally you just need to hit next through the Wizard and setup a username and password for your instance. Do not worry about setting up a media library because we will be adding that later after we setup the Storage Volume.

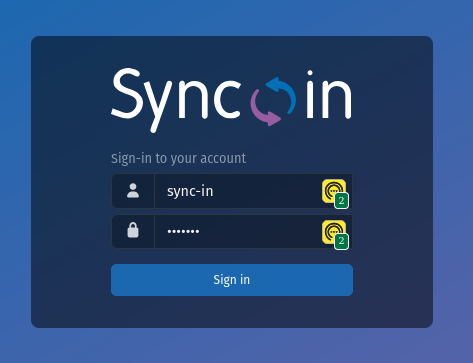
Sync-In is the application that we will be using to manage the actual media files in our media server. Sync-In provides WebDAV support so that we can mount a network drive to our personal laptops to upload files to our media server from our computers. We are going to do the same thing with Sync-In, get the application started and then navigate to the access link for this application once it is running.
Sync-In is going to be initialized with the username "sync-in" and the password "sync-in". This is just the defaults set for the application on CitadelHosts. You are going to want to change these as they are not secure and anyone could access your media files unless you turn on the require authentication toggle for requiring CitadelHosts authentication to access the app. But this will block you from mounting the application as a network drive.
You can change the username and password by navigating to the top right of your Sync-In instance, after logging in. Select your user account and hit the cog icon to go to settings. You will then navigate to Edit User. Inside the Password field you can type a new password and hit Confirm.

3. Add Storage Volume → Name it Media Library
The cool part about CitadelHosts here is that we can share a storage backend across these two applications. This lets us combine these two applications to work together and provide a better user experience.
Navigate to your Storage Volumes page at citadelhosts.com/dashboard/storage. From here you will select "Create Storage Volume". This will pop up a modal.
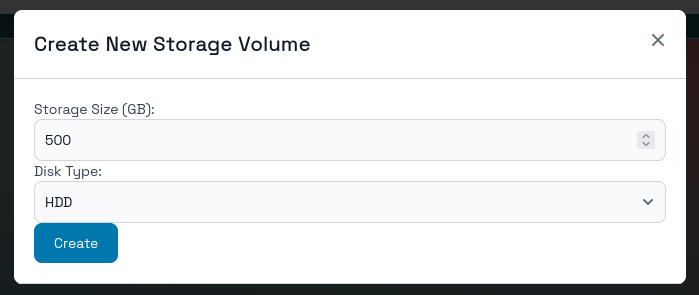
You can choose the type of storage that you think would be best for your needs. SSD storage is going to be faster but more expensive. HDD storage is slower but cheaper. For this guide, the recommendation is to create HDD storage and to start with 500 GB.
Now we can mount this storage backend to our two applications. To mount a storage volume to an application you can navigate to the application details page. Remember, we get there by going to the dashboard at citadelhosts.com/dashboard and then clicking on the link for our application inside of our territory. So for this guide the links would be for Jellyfin and Sync-In inside of our media-territory.
Scroll to the bottom of the application details page to control the application's storage. Click on the Stack icon to mount a Storage Volume to the application.
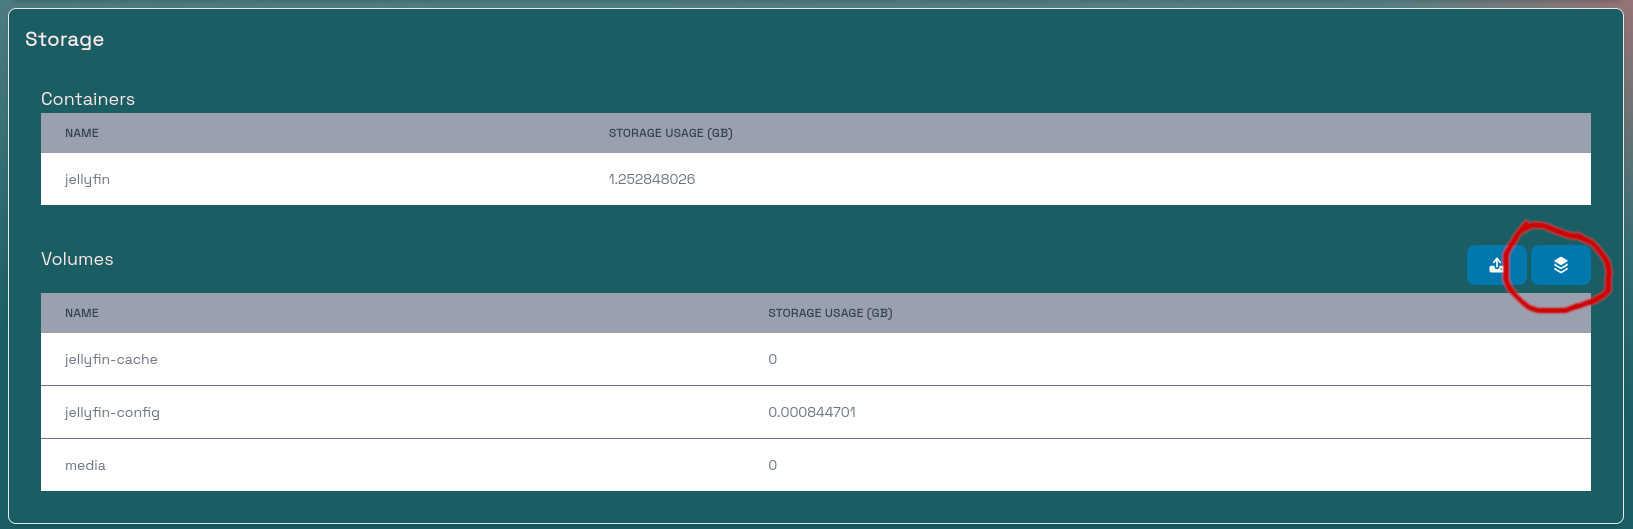
This will bring up the control modal to mount a storage volume. Select the Storage Volume that we just created and mount it to the media volume for Jellyfin. For Sync-In, you will select the same Storage Volume but mount it to data volume for Sync-In.

4. Sync your files → From your laptop or phone
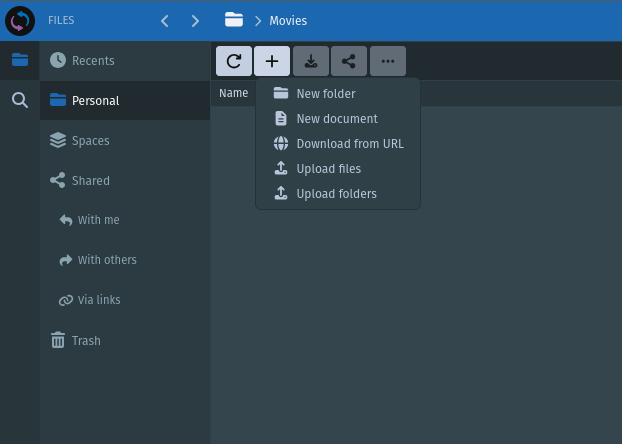
You can now upload files to your Sync-In instance. My recommendation is to create a folder under Personal in Sync-In and call it Movies for your Movies and another one for TVShows. You can learn more about how the files should be organized on Jellyfin's documentation. This page shows for movies.
We also need to configure Jellyfin to be able to find our new media files. To do this, you should go back to your Jellyfin application, select the User icon in the top right and then hit Dashboard. This is where you control your Jellyfin instance, but we are interested in the Libraries section -> so click on that.

Now you can press on Add Library. This will open a new window. Select your media type and then navigate to the /media/<the folder in your Sync-In instance>.
5. Stream → Open Jellyfin and enjoy!
That's it! You can now add media as you collect it and stream your collection from anywhere. That's better than the theaters!
🎥 Watch movies, listen to music, browse photos — all from one place.
Benefits
- ✅ Full file control
- ✅ Private, secure, and fast
📌 Ideal for personal media libraries, home theaters, or shared family collections.